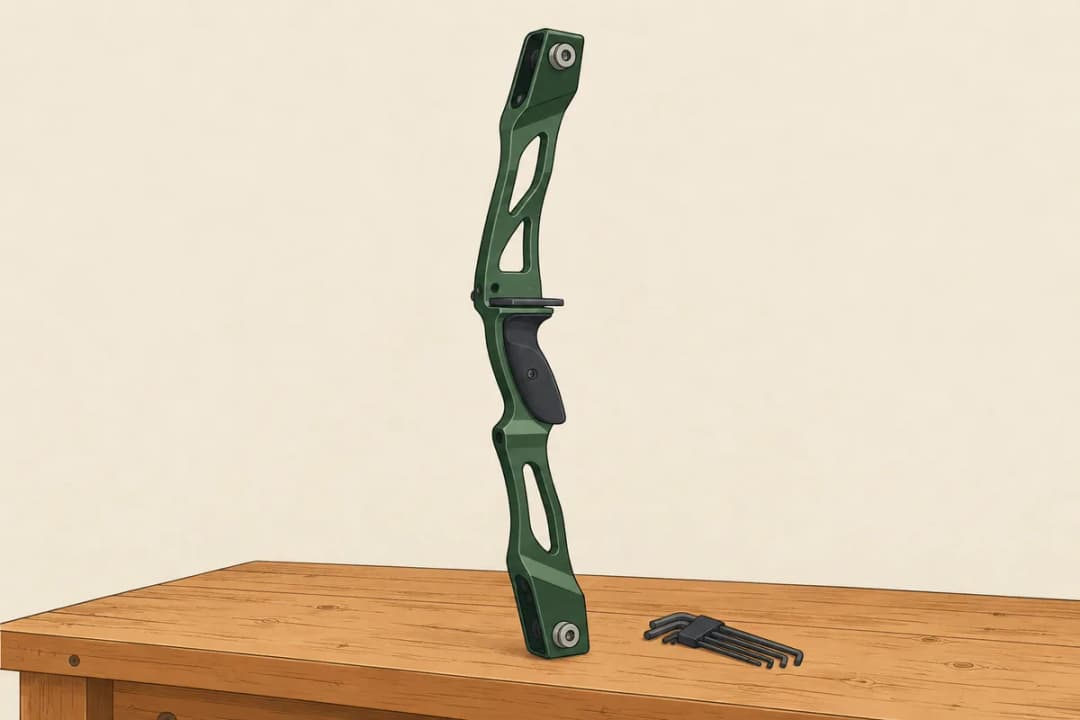


- Fit and ILF pockets beat a premium price: the riser you can hold calmly at full draw is the right one.
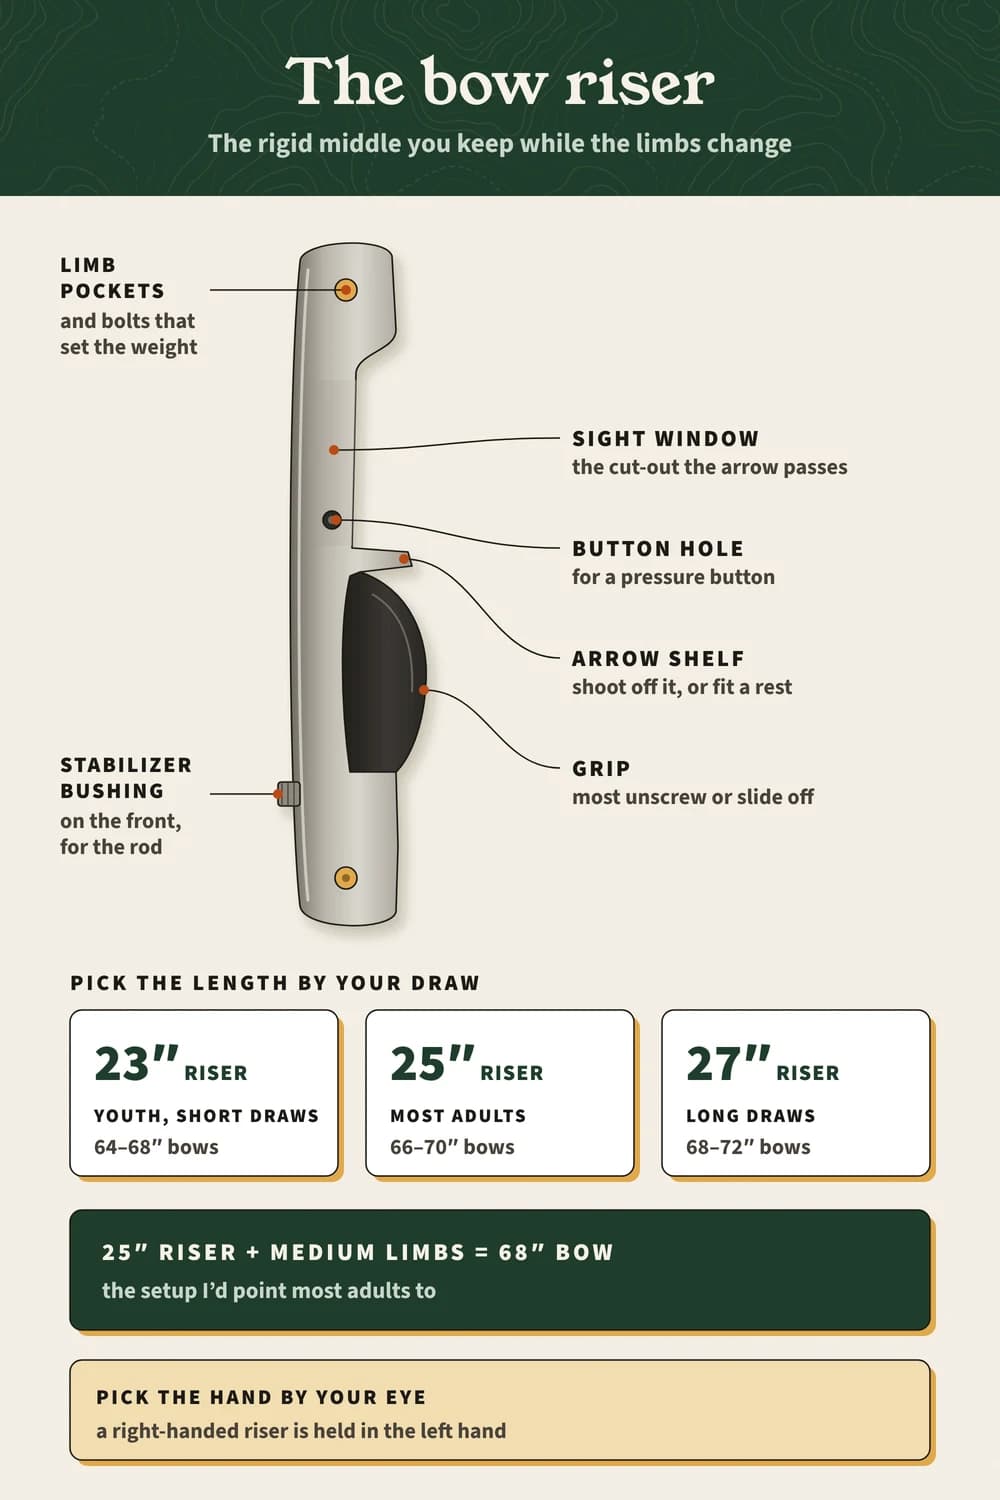
- Most adults start on a 25″ riser; a 23″ suits youth archers and short draws, a 27″ long draws.
- Pick the grip by your wrist: it should settle into your palm without twisting at full draw.
- Match the riser’s hand to your dominant eye: a right-handed riser is held in the left hand.
- You keep the riser and replace the limbs, so spend your care on fit, not on a brand name.
Two risers sit side by side, look almost identical, and one costs several times the other. What is the extra money actually buying you? 🤔
The riser is the rigid middle of a takedown bow, and the right one fits your hand and takes ILF limbs, whatever its price. Pick it with the six shop checks below and it still suits you long after your first limbs are gone.
How a riser works on your bow
The riser doesn’t bend; the limbs do. Its job is to hold both limbs in line, put your hand in the same place every shot and carry everything you bolt on.
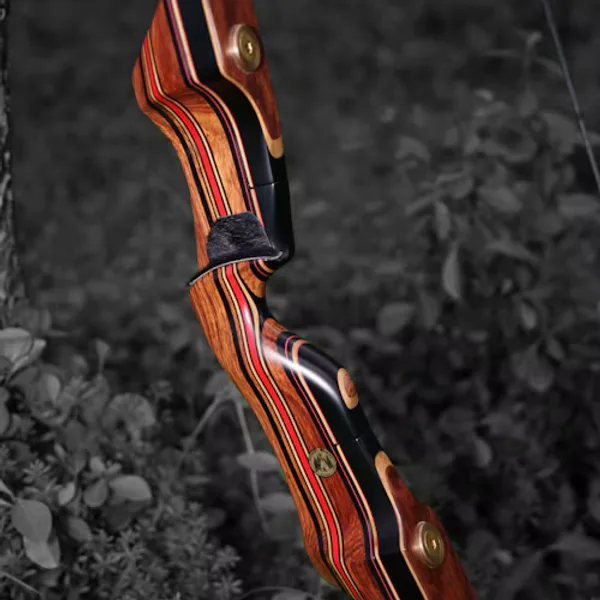
One archery writer calls it the bow’s motherboard (fair enough), because the rest, button, sight and stabilizer all attach to the riser. Know the parts before you shop, so you can check each one.
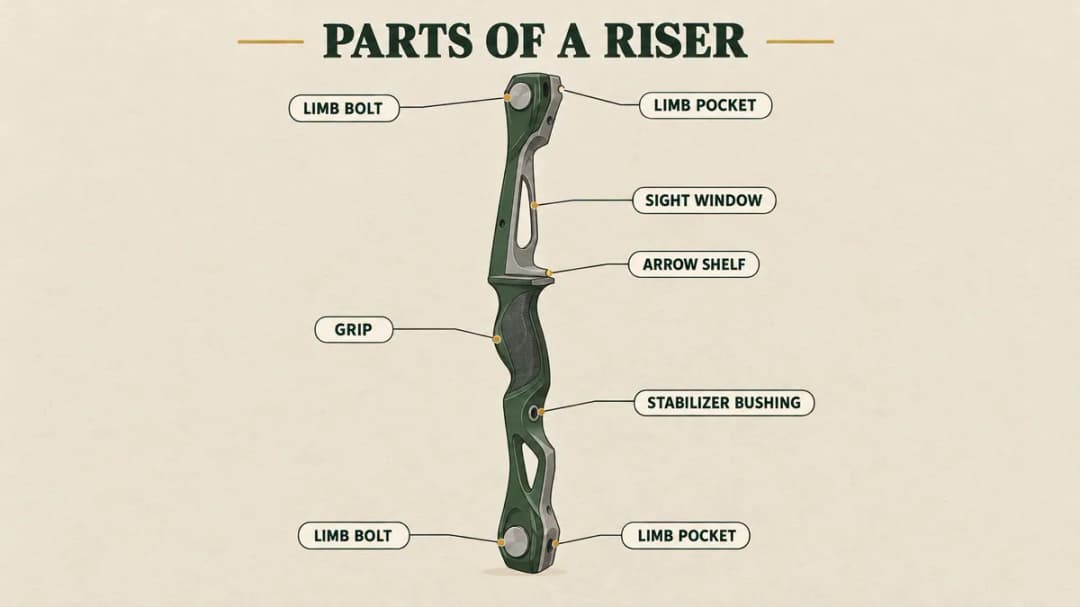
- Grip: where your bow hand sits; most target risers take a replaceable grip.
- Sight window: the cut-out above the grip that the arrow passes; a sight mounts beside it.
- Arrow shelf: the ledge at the bottom of the sight window, which you shoot off or fit an arrow rest above.
- Button hole: a threaded hole through the riser beside the rest, for a pressure button (plunger).
- Stabilizer bushing: a threaded hole on the front of the riser, below the grip, for a stabilizer rod.
- Limb pockets and limb bolts: where the limbs attach, with the bolts that hold them and adjust the weight.
// Free printable
Get the range log I actually use.
Seventeen printable pages: session log, score tracker, a 30-day drill challenge, a bow maintenance card, a first-season checklist and more. Join the monthly email and it lands right away.
Recurve riser length: pick 23, 25 or 27 inches by your draw
Riser length plus limb length gives you the bow length. For most adults, a 25″ riser is the place to start; Hoyt’s recurve brand manager recommends one for everyone except youth archers, who do better with a lighter 23″.
| Riser | Short limbs | Medium limbs | Long limbs | Suits |
|---|---|---|---|---|
| 23″ | 64″ bow | 66″ bow | 68″ bow | Youth archers, short draws |
| 25″ | 66″ bow | 68″ bow | 70″ bow | Most adults |
| 27″ | 68″ bow | 70″ bow | 72″ bow | Long draws |
Shorter risers pull heavier with the same limbs: about 2 lb more on a 23″, about 2 lb less on a 27″. Hunting risers of 17–21″ make short, handy bows, at the cost of a steeper string angle that pinches your fingers at full draw.
The host of Archery Supplies, a UK archery shop, gets asked about riser length all the time and his own default is the plain one:
For me I generally go for a 25 inch riser with standard limbs to make a 68 inch bow.
That’s the setup I’d point most adults to: a 25″ riser, medium limbs, a 68″ bow. If your draw is shorter, a 23″ riser gets you to a 64–66″ bow, which Lancaster Archery’s chart pairs with a 24–26″ draw.
Not sure of your draw length? The draw length calculator gets you close, and a shop can confirm it in a minute.
Riser grips: low, medium or high wrist
Grips are sold by how much they bend you’re wrist. A low grip asks for the most wrist bend, a high grip the least, and a medium grip sits in between.
- Low wrist: the most upright grip, with the heel of your hand low on the handle and the most bend at the wrist.
- Medium wrist: a little more support under the thumb; a good try if a low grip feels wrong.
- High wrist: the hand sits higher and the wrist stays straightest, with less of your palm on the grip.
Choose the grip by your hand at full draw, not by the spec sheet. On most target risers it unscrews or slides off, so a riser with the wrong grip can still be the right riser.
Riser materials: aluminum, wood or carbon
Most risers are aluminum, machined (CNC) from a solid block or cast, with a few in magnesium, carbon or wood. For a first riser, plain aluminum is the right call: it’s tough, it stays straight, and it takes every accessory.
- Machined aluminum: stiff, rugged and a little heavier, and the extra mass steadies the bow.
- Cast aluminum or magnesium: cheaper to make and fine to learn on; check the maker’s maximum draw weight.
- Wood: light and traditional, often with fewer bushings for accessories.
- Carbon: very light, so it needs extra stabilizing to balance.
Heavier isn’t automatically better for you. A heavy riser holds steadier, but a new archer’s shoulder tires sooner, so pick one you can hold up through a whole end.
How to choose a riser: 6 checks at the shop
Don’t pay for a fancy riser first. A riser lasts for years whatever it cost, and the grip in your hand matters more than the name on the side.
It’s the same advice I give about bows and gear in general, and it holds for risers:
As a beginner you’re just not gonna appreciate any good gear. You have to build it up.
- Hold it: pick up several risers; the grip should settle into your palm without twisting your wrist.
- Get the right hand: nearly every riser is right- or left-handed, so match your dominant eye (the eye dominance test takes a minute).
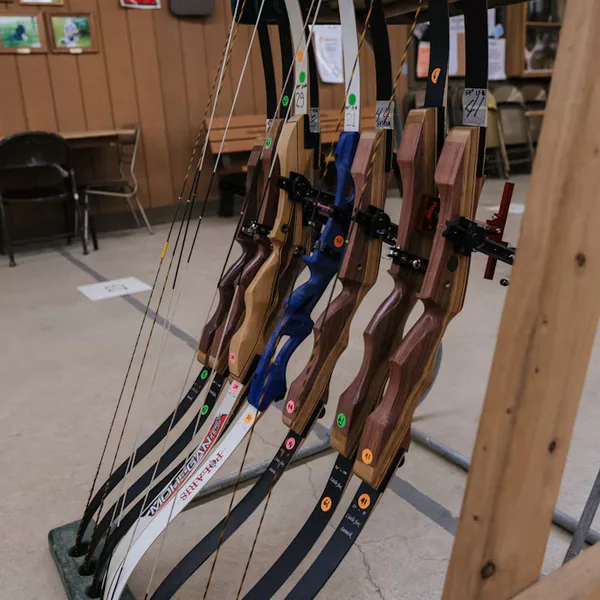
- ILF limb pockets: so ILF limbs from most makers fit, now and later.
- Bushings: a stabilizer bushing and a button hole, so you can add gear without a new riser.
- Straightness: sight down it; a twisted riser is never a good riser.
- Weight limit: some budget risers are rated only up to a maximum draw weight, so check it covers the limbs you’ll want next.
Riser mistakes that cost beginners money
Most riser regrets come from buying for the future instead of for your hand today. These are the ones worth avoiding.
- Buying a top-tier riser first: your form will change faster than an expensive riser can help it.
- Skipping ILF: a riser that only takes its own brand’s limbs locks every upgrade to one maker.
- Ignoring the hand: a riser for the wrong side can’t be fixed with a grip or a setting.
- Buying used without looking: check for cracks around the limb pockets and bolts, stripped threads in the bushings, and a straight sight window.
He closes the video with the line I’d want every new riser shopper to hear:
Honestly it really doesn’t make that much difference. Just get shooting and shoot. The more you shoot the better you’re gonna shoot.
Practice time beats riser price. That’s the whole case for fit and ILF over a premium name: the money you keep buys arrows and range time, which is where you actually get better.
If you'd rather see the riser than read about it, this page puts its parts and the length chart side by side.
// FAQ
Frequently asked questions
Quick answers to the questions readers ask most.
Does an expensive riser make you more accurate?
Not as a beginner. Most of the variation in your shots comes from you, so a straight riser that fits your hand does the job.
Is a riser right- or left-handed?
Almost always. A right-handed riser is held in the left hand and drawn with the right; only a few are made for both.
What riser length should I buy?
A 25″ riser for most adults, a 23″ for youth archers. Pair it with limbs that give the bow length your draw needs.
Can I change the grip on my riser?
On most target risers, yes: grips screw or slide on and off. Recheck your draw length afterwards, because the grip moves your hand.
Does a compound bow have a riser?
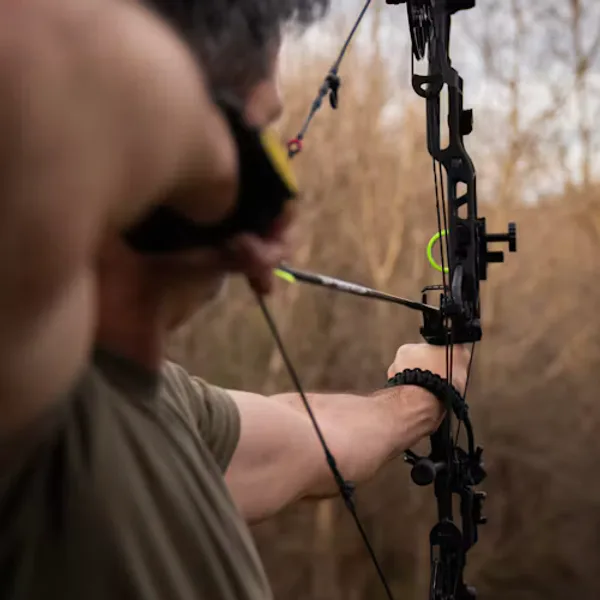
Yes. It does the same job: the grip, limbs, sight and rest all attach to it.

Final thoughts
Pick the riser once: fit, ILF pockets and a straight build, not a premium price. Then spend the difference on lessons and arrows.
Track how the bow feels in the free range log as you change limbs, and you’ll see the riser was the right buy.