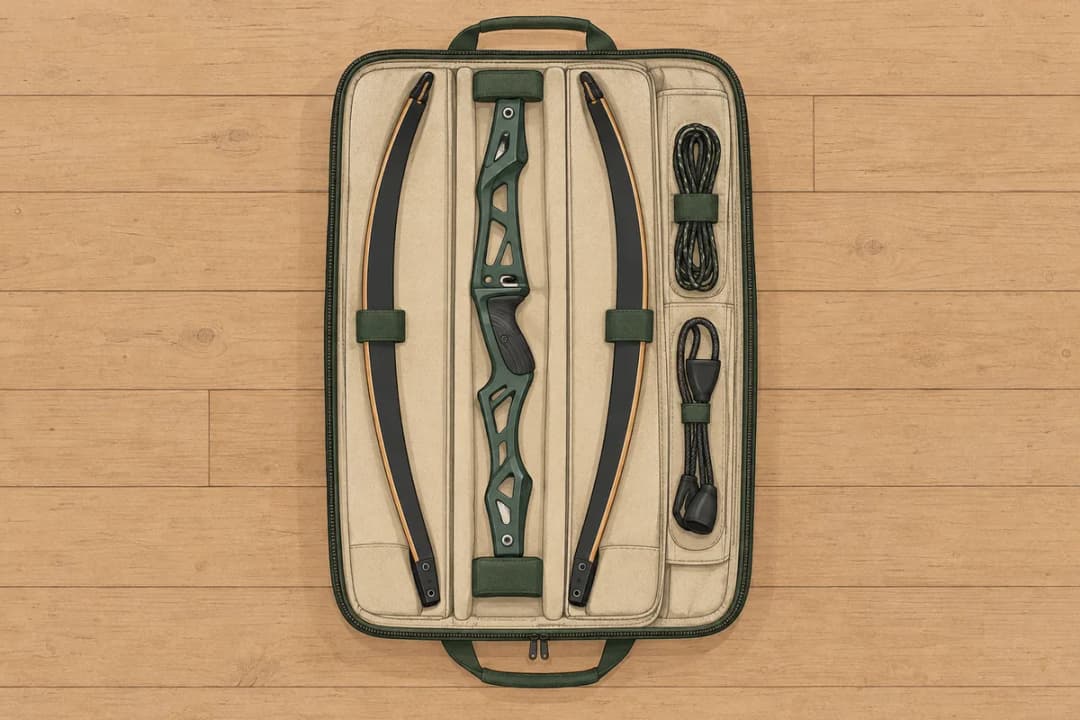


- Buy a takedown as your first recurve, not a one-piece: when you outgrow the draw weight, you change the limbs, not the bow.
- Before you buy, check the limb fitting (ILF if you can) and that lighter and heavier limbs exist for it.
- Start on limbs lighter than you think; on a takedown that mistake costs a pair of limbs, not a bow.
- Assemble it in 5 steps: bottom limb, top limb, bolts snug, not cranked, then string it with a stringer.
- A one-piece makes a great second bow, once you know the weight and length you shoot well.
Buy the takedown. 👍
Two recurves can look identical in the photos, but the one whose limbs come off the riser grows with you: when you get stronger you swap limbs instead of buying a new bow. Here’s what to check before you buy and how to put it together (the recurve buying guide covers weight and length).
How a takedown bow works: three pieces that bolt together
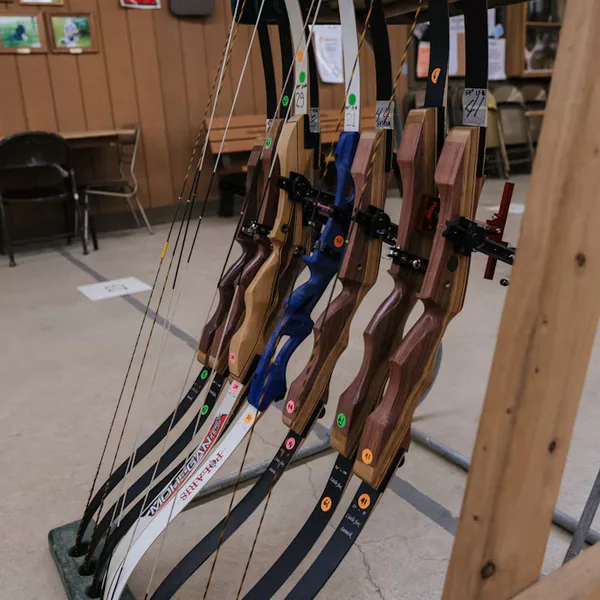
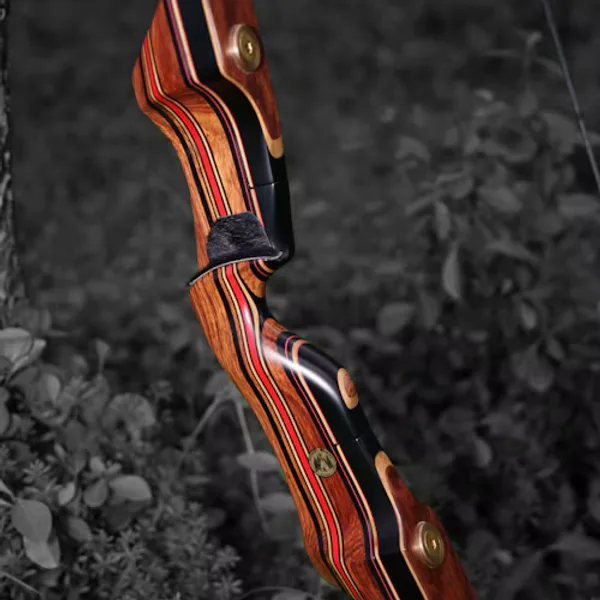
A takedown bow comes apart into three pieces: a riser (the handle) and two limbs. The limbs bolt or lock into pockets at each end of the riser, and the string holds the whole bow under tension.
Unstring it, undo the limb bolts, and the bow packs into a case a fraction of its strung length. Each piece has its own job: the riser you keep for years, and the limbs you change as your draw weight grows.
// Free printable
Get the range log I actually use.
Seventeen printable pages: session log, score tracker, a 30-day drill challenge, a bow maintenance card, a first-season checklist and more. Join the monthly email and it lands right away.
Takedown vs one-piece recurve: which to buy first
Buy a takedown first. The reason isn’t travel, it’s draw weight: the weight you start on is rarely the weight you’ll want once your form and strength catch up.
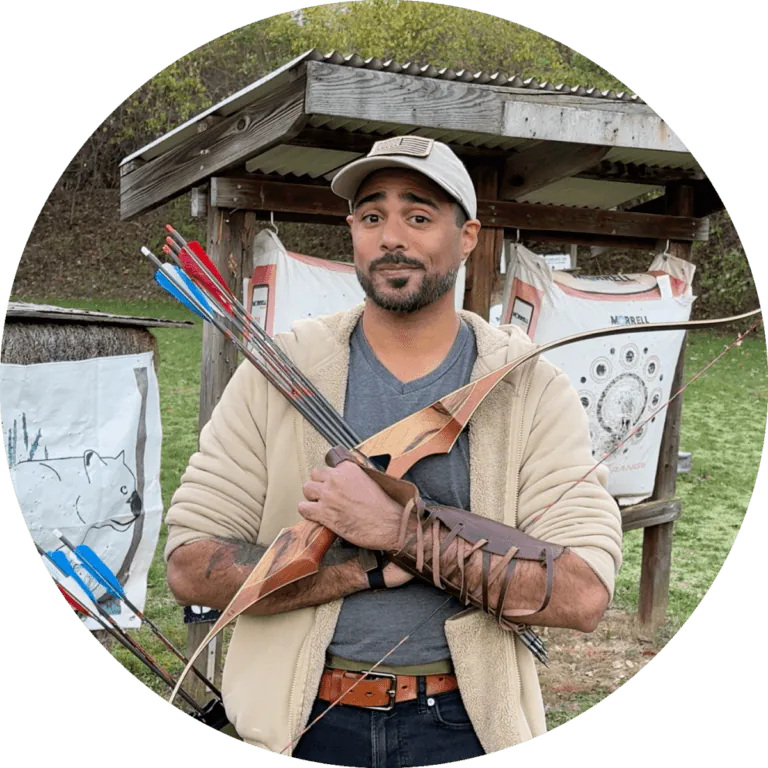
My first bow was a 45 lb one-piece, bought because it looked good, and I didn’t even know what a takedown was. When 45 lb turned out too heavy to learn on, there was nothing to swap: I trained with a resistance band until I could pull it.
I don’t necessarily think it’s the best bow for beginners, to be quite frank. A lower poundage takedown bow is probably gonna be better, but this is a really nice secondary bow.
| What matters | Takedown | One-piece |
|---|---|---|
| Changing draw weight | Swap the limbs | Buy a new bow |
| A damaged limb | Replace that limb pair | Usually the whole bow |
| Storage and travel | Packs into a short case | Full length, tip to tip |
| Setup | Bolt the limbs on, then string it | Just string it |
| Upgrades later | Better limbs, or a better riser | None |
The one-piece isn’t a bad bow; it’s a better second bow. Once you know the weight and length you shoot well, a one-piece is a lovely bow to own, with nothing to assemble (my Sanlida Royal X8 review covers one).
How to choose a takedown: 4 checks before you buy
Most takedowns look alike in a listing. How the limbs attach decides what you can buy later, so check that before the color of the riser.
- The limb fitting: ILF (International Limb Fitting) is the one to look for, because limbs and risers from many makers fit each other; the ILF guide explains it.
- Limbs you can buy next: on a maker-only fitting, check the maker sells limbs in lighter and heavier weights than the pair you’re buying.
- The starting weight: pick limbs you can hold at full draw for three seconds, adjusted for your draw length.
- The bow length: riser plus limbs should suit your draw length; most adults land around 66–70″.
- ILF: a limb bolt and a dovetail pocket at each end of the riser; most makers’ ILF limbs fit.
- Formula: Hoyt’s longer fitting from 2009; it looks like ILF but doesn’t take ILF limbs.
- Bolt-on (maker-only): many budget takedowns use one screw-in bolt per limb, and only that maker’s limbs fit.
A maker-only fitting still beats a one-piece, as long as the maker sells its limbs in the weights you’ll want next.
How to put a takedown recurve together in 5 steps
Assembly takes a few minutes and the order matters. Limbs on first, then the string, always with a stringer. Johnathan Karch of 3Rivers Archery walks through it in the video below, and his tips fill the gaps most manuals leave.
- Find the bottom limb: it usually carries the length and weight label, or it’s marked bottom or lower near the bolt hole.
- Seat each limb in its pocket, curved tip pointing toward the target, and turn the limb bolt in until it’s snug.
- Put the string on: the bigger loop goes on the top limb and slides down it; the small loop sits in the bottom limb’s string groove.
- String it with a bow stringer, and check both loops sit fully in the grooves before you let the tension off.
- Check the brace height: measure from the deepest part of the grip to the string and compare it with the manual.
If you’re limbs aren’t labeled top and bottom, Karch has a simple tell:
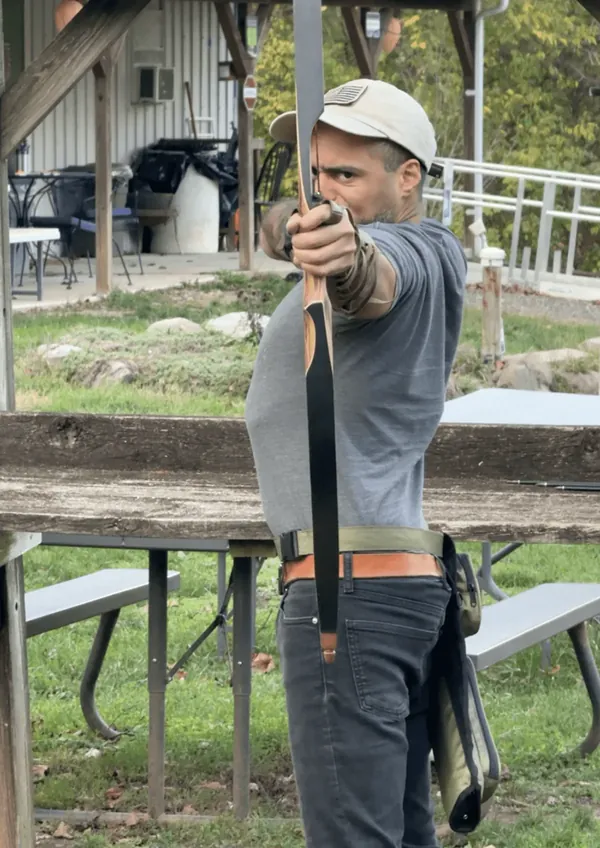
The best way to note between the two if it doesn’t label bottom, top, is that the writing is going to need to be legible when the bow is set up.
It’s the easiest check I know. Read the label with the bow in your hand, ready to shoot: if it’s upside down, swap the limbs.
Step 2 is where people overdo it, here’s how tight the limb bolts need to be:
They don’t need to be reefed down on it so it’s too hard, and you’re stripping in the wood or pulling out parts to it. But just so it’s snug.
Snug is the word: firm by hand, about a quarter turn past where the bolt stops on his bow. Cranking it down doesn’t make the limb any safer, and it can damage the riser.
And on step 4, he’s as firm as I’d be:
Always recommend a bow stringer, because it is for the best for the safety of both you the archer and the bow.
Never bend the bow around your leg to string it. That old trick can twist a limb, and a twisted limb is the one part a takedown can’t fix with a bolt.
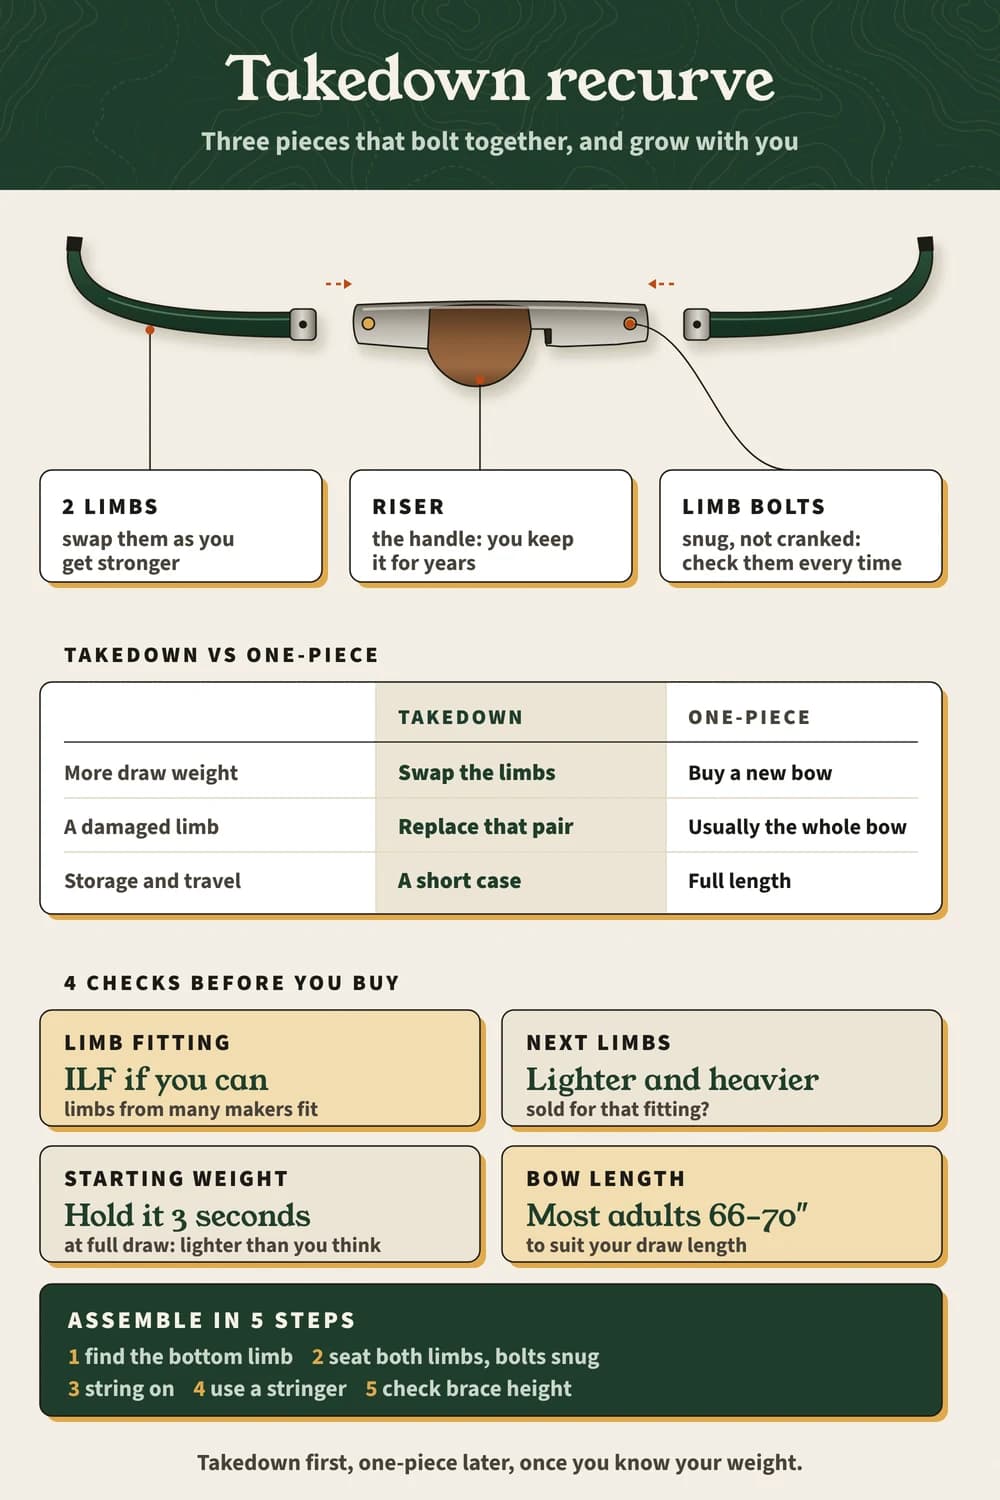
If you only keep one page from this guide, make it this one: the takedown, the checks and the assembly at a glance.
// FAQ
Frequently asked questions
Quick answers to the questions readers ask most.
Is a takedown recurve good for beginners?
It’s the best kind of first recurve. You can start light and change limbs as you get stronger, without buying a new bow.
Can any limbs fit my takedown riser?
Only limbs with the same fitting. ILF limbs fit most ILF risers; Formula and maker-only limbs fit only their own risers.
Which way do recurve limbs go on?
Curved tips pointing toward the target, with the labeled bottom limb at the bottom. Assembled that way, the label reads the right way up.
Can I leave my takedown bow assembled?
Yes. Unstring it after shooting and store it with the limbs attached, or take the limbs off to save space.
Do I need tools to take down a recurve?
Usually not: many limb bolts turn by hand, and ILF limbs click in and out. Keep a hex key handy for bolts that need one.

Final thoughts
Takedown first, one-piece later. Check the fitting, start on limbs lighter than you think, and let the riser carry you through the next pair.
Write your draw weight and how it feels in the free range log, and you’ll know when it’s time to move up.