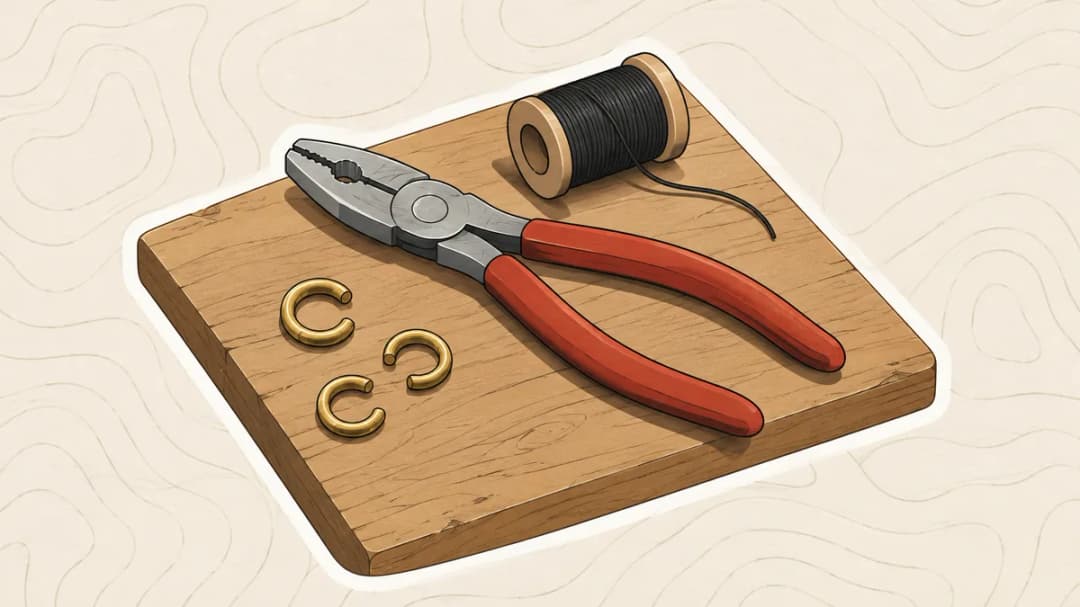


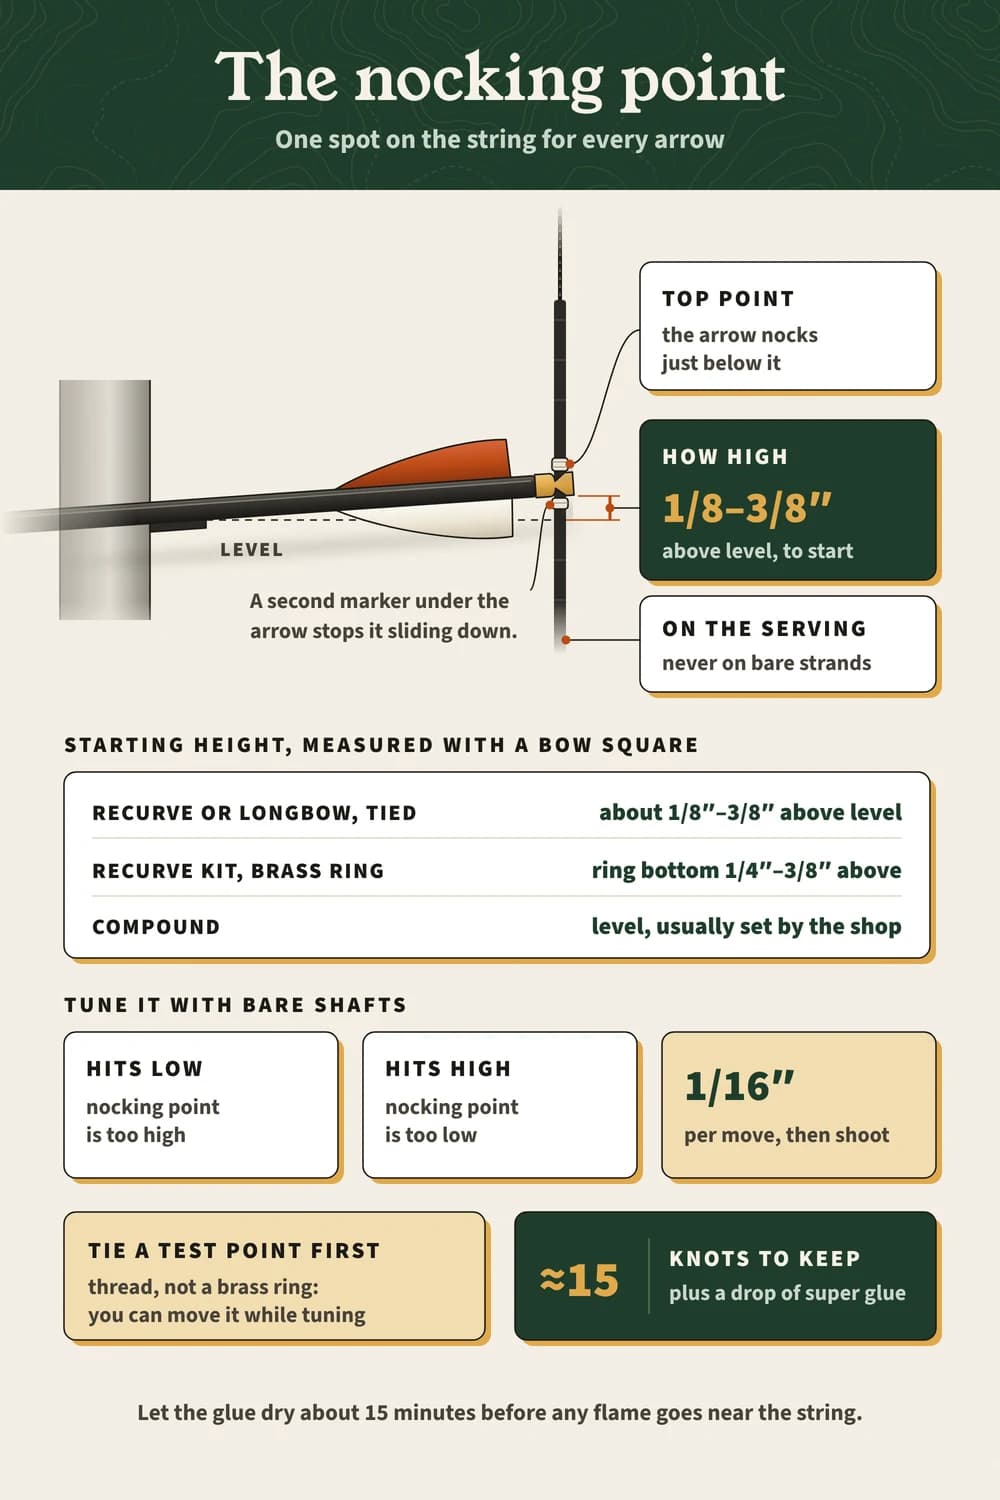
- Set the nocking point on a recurve or longbow a little above level, roughly 1/8″ to 3/8″, measured with a bow square.
- Tie it with thread instead of crimping a brass ring: a tied one can be moved while you tune.
- Tie a quick test point first, then a permanent one once your arrows agree.
- Bare shafts hitting low mean the nocking point is too high; hitting high, too low.
High, low, high again. You blame your aim, but your arrow is sitting in a different spot on the string every time. 🫠
The fix is a nocking point, a small marker on the string that gives every arrow the same spot, set just above level with a bow square (the same tool checks your brace height). Here’s how to set it, tie it and tune it.
Why the nocking point matters: one spot for every arrow
The string is long and smooth. So without a marker you’d clip the arrow on a little higher or lower each time. Even a small move changes where your arrows hit, which is why you set it once and leave it alone.
- Top marker: the arrow nocks just below it; this is the one that matters most.
- Bottom marker: many archers add a second one under the arrow so it can’t slide down.
- On the serving: it always sits on the wrapped middle section of the string, never on the bare strands.
// Free printable
Get the range log I actually use.
Seventeen printable pages: session log, score tracker, a 30-day drill challenge, a bow maintenance card, a first-season checklist and more. Join the monthly email and it lands right away.
Brass ring or tied thread: which nocking point to use
There are two common ways to mark it, plus the D-loop on a compound. My pick for a recurve or longbow is a tied one, because you can slide or retie it while you tune.
| Type | What it is | Good to know |
|---|---|---|
| Brass ring (clamp-on) | A small C-shaped metal ring squeezed shut with grooved pliers | Quick to fit; often already on a new recurve string |
| Tied nocking point | A few wraps of serving thread, knotted and glued | Light, can be slid and retied while tuning |
| D-loop (compound) | A short loop of cord tied around the arrow, for a release aid | The loop itself holds the arrow’s position |
How high to set your nocking point
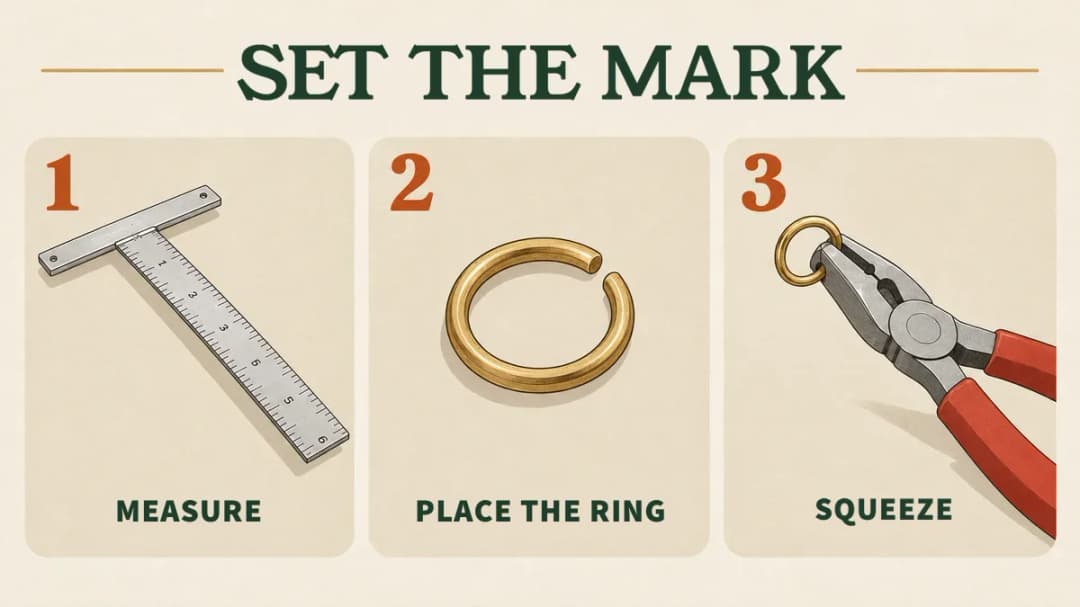
On a recurve or longbow the arrow should tip slightly down toward the rest, so the nocking point goes a little above level. Measure it with a bow square clipped to the string, resting on the arrow rest.
| Bow | Typical starting point |
|---|---|
| Recurve or longbow, tied | About 1/8″ to 3/8″ above level |
| Recurve kit, brass ring | Bottom of the ring about 1/4″ to 3/8″ above level |
| Compound | Arrow sits level (square to the string), usually set up by the shop |
Olympic recurve archer Steve Wijler shows his own starting point in the Triple Trouble Archery video further down. Watch how he reads the the square:
So, with my bow square, I have lines on it, and every line is 2 mm. So, I’m going to start with a nocking point on eight, so that will be 2 4 6 8.
Eight millimeters is about 5/16″, right inside the usual range. The word that matters is “start”: an Olympian treats it as a first guess, and so should you.
- Clip the bow square onto the string and slide it down until its long arm just touches the arrow rest.
- Find the mark for your starting height on the square’s scale.
- Mark the string there, on the serving, for the bottom of the arrow’s nock.
How to tie a nocking point: a test one, then a permanent one
Wijler ties two versions, it’s the method I’d copy. A quick test point lets your arrows decide, and the permanent one goes on only once they have.
- Tie the bottom point: a short piece of serving thread at your mark, with three or four small knots.
- Tie the top point: snap an arrow on, press it down onto the bottom point, and tie a second thread snug against the top of the nock.
- Trim the ends: cut them with the flat of the blade against the serving, so you don’t cut into it.
- Melt the stubs: turn the bow around first, so the flame is never under the serving.
- Shoot and tune with bare shafts (next section), moving the test point until they group.
- Make it permanent: retie each point with about 15 knots, alternating sides of the string, and add a drop of super glue.
Step 4 is easy to get wrong, and he’s clear about why:
It is really important to turn around the bow. Otherwise, the flame will going to damage your serving.
Is your nocking point too high or too low? Tune it with bare shafts
Watch a few arrows fly from 10 yards. An arrow that wobbles up and down in the air (archers call it porpoising) is a sign the nocking point is off.
- Bare shaft (no fletching) hits low: the nocking point is too high.
- Bare shaft hits high: it’s too low.
- Fix it in tiny steps: move it about 1/16″, shoot again and compare.
Here’s that rule in action, from Wijler’s test at 30 meters:
My bare shafts are lower than my group. That will mean that I have to put my nocking point a bit lower than I had before to get these arrows in the group.
He moved it one line on the square, 2 mm, and the bare shafts joined the group. Small moves, one at a time, then shoot again: that’s the whole job.
Get the up and down right first. Left and right misses are a different job, usually your arrow spine.
Here's the setup, the heights and the bare-shaft rule on one page, to keep beside your bow square.
// FAQ
Frequently asked questions
Quick answers to the questions readers ask most.
Where should the nocking point be on a recurve?
A little above level, about 1/8″ to 3/8″ measured with a bow square, then fine-tuned with bare shafts.
Does the arrow go above or below the nocking point?
Below the top one. If there’s a second marker, the arrow sits between the two.
Do I need a nocking point on a recurve?
Yes. Without one the arrow sits in a slightly different place each shot, and your groups spread up and down.
Can I move a nocking point?
A tied one can be slid and retied. A brass ring has to be opened and refitted, so fit it carefully the first time.
What thread do you tie a nocking point with?
Serving thread, tied on the center serving and finished with a drop of super glue. The serving guide covers the serving underneath.

Final thoughts
A nocking point is a tiny part that does one big job: the arrow sits in the same place every shot. Start a little above level, tie a test point, and make it permanent only when your arrows agree.
Note your nocking point height in the free range log next to your arrow rest and string setup, so you can put it back if it ever slips.
