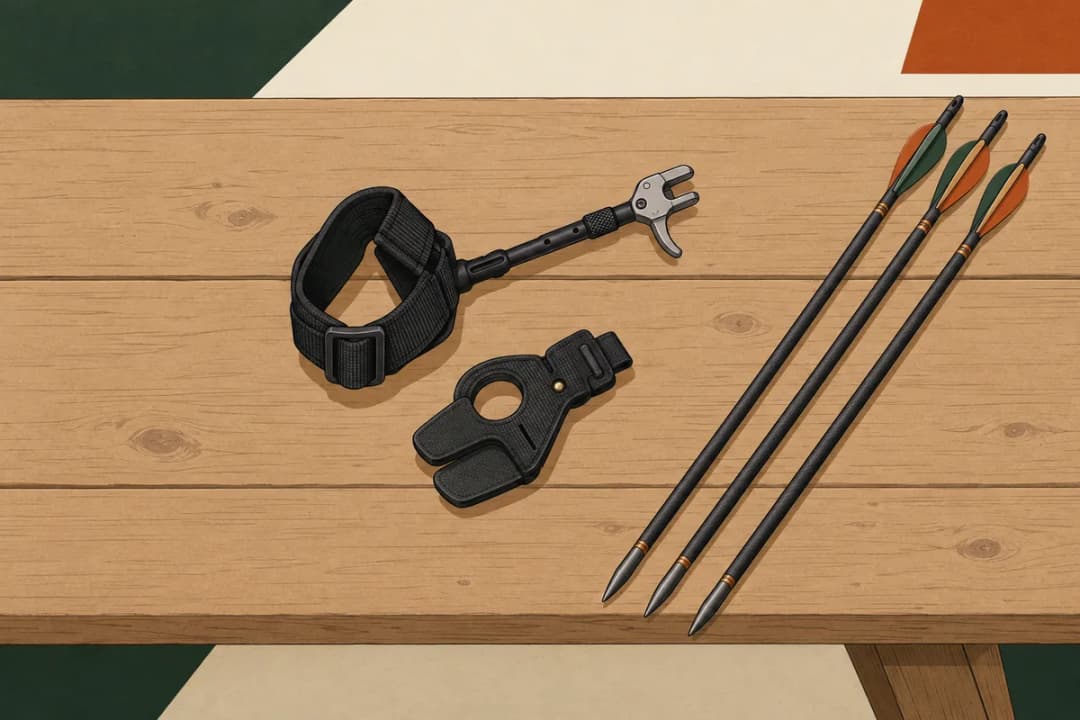


- The release is the moment you let the string go, and a rough one sends arrows left and right.
- Don’t think about your fingers at the release: think about pulling through with your back, and let the string push them away.
- With fingers, relax your hand while your back keeps pulling; never flick your fingers open.
- On a compound, use a release aid from day one, not fingers.
- Start with a wrist-strap index-finger release; save hinge and resistance releases for later.
Third end, same aim, and the arrows still spray left and right of the spot. 😩
Blame the moment you let go: a clean release is a relaxed one. Let your fingers go soft while your back keeps pulling (on a compound, squeeze a wrist-strap release aid), then hold your follow-through and watch your groups pull in.
How the release moves your arrow left and right
The release is the split second the string leaves your fingers or you’re release aid. Any sideways push on the string at that moment pushes the arrow sideways too.
A plucked release, where your hand flicks out to the side, shows up as arrows left and right of the spot. And a dead release, where you stop pulling before you let go, does much the same.
Looking back at my first sessions, the trouble started before the release:
I was pulling the string so awkwardly and incorrectly.
A clean release starts with a clean draw: a deep, relaxed hook and a pull that comes from your back.
 From Jedain
// Free printable
Get the range log I actually use.
Seventeen printable pages: session log, score tracker, a 30-day drill challenge, a bow maintenance card, a first-season checklist and more. Join the monthly email and it lands right away.
How to release the string cleanly with your fingers: 3 steps
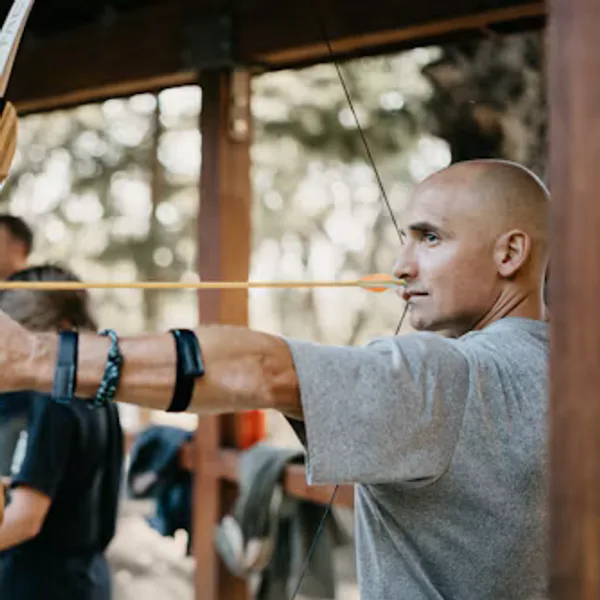
On a recurve or longbow you release with your fingers, usually one finger above the arrow and two below (the Mediterranean draw). So the goal is to let the string push your fingers out of its way.
NUSensei, a long-running archery coaching channel, puts the whole idea in one line:
To put things simply, you don’t want to open up the fingers to let the string come out, you want the string to move the fingers out of the way.
That one changed how I think about it. Opening your fingers is an action, and any action at that moment pushes the string sideways; relaxing is the absence of one.
- Hook at the first joint: set the string in the first joint of your fingers (not the fingertips, not the second joint), with the back of your hand relaxed and your wrist straight.
- Keep pulling: at anchor, keep drawing gently with your back muscles, not your arm.
- Relax, don’t open: let your fingers go soft so the string slides off, and your hand slides back along your face.
| Release mistake | What you see | Fix |
|---|---|---|
| Plucking: the hand flicks out to the side | Arrows left and right | Relax the fingers; let the hand slide straight back |
| Dead release: the pull stops before you let go | Arrows left and right, weak flight | Keep pulling with your back through the shot |
| Holding the string on the fingertips | Inconsistent left and right | Hook deeper, in the first joint |
| Hooking at the second joint | Fingers have to open wide; plucks | Move the string back to the first joint |
| Bent wrist or elbow out to the side | Hand swings out on the release | Straight wrist; elbow in line with the arrow |
| Opening the fingers on purpose | Erratic shots left and right | Think “relax”, not “open” |
How to practice a clean release: focus on the pull, not the fingers
The hardest part of fixing a release is that trying to fix it makes it worse. Thinking “relax your fingers” at full draw is an instruction to do something, and your fingers do it.
NUSensei calls this the most important tip in his video:
The most important tip is not to consciously focus on the release… if you think too hard about the release you often lose back tension, you don’t expand, and you think about opening your fingers up. So focus on the process, expand and let the release happen by itself.
I agree, and for a beginner the catch is that you need something concrete to focus on instead. These drills give you one:
- Blank bale, close up: shoot at a big target with no face from about 3 yards, so the only job is the feel of the shot.
- Push and pull: at anchor, think “bow arm to the target, drawing elbow behind you”, and let the string go while both keep moving.
- Watch the hand: have a friend film you from the side; your drawing hand should slide straight back along your neck, not flick out.
- Fewer arrows: 3-arrow ends, so you rest before tired fingers start gripping the string.
He also warns about the hook: a string set too deep in your fingers makes a clean release harder before you even draw.
If the hook is too deep, and I mean it’s like a second joint deep, which you might see in some diagrams, then this forces you to open your fingers up a lot more to get the string to come off the fingers.
That’s why the steps above say the first joint. If your fingers hurt at the second knuckle, your hook is too deep, and a tab or glove makes it easy to keep it in the right place.
Release aids: why a compound needs one from day one
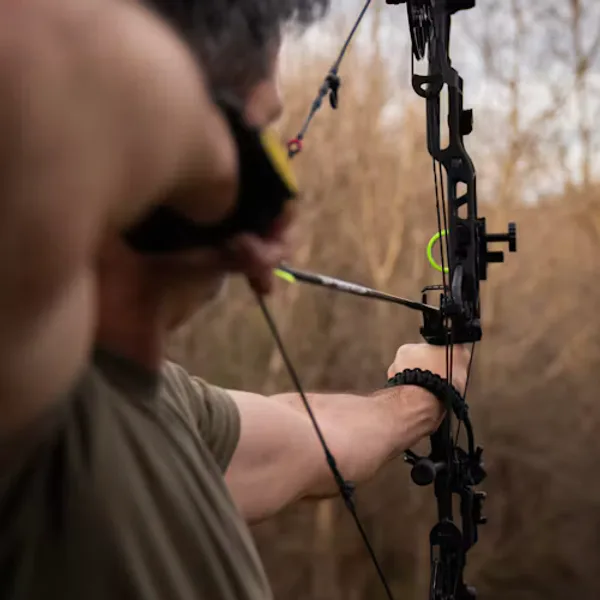
A release aid is a small trigger tool that clips onto the string, or onto a D-loop (a short loop of cord tied on the string), and lets it go when you fire it. On a compound, use one from your very first arrow.
Modern compounds are short, so the string makes a sharp angle at full draw and pinches fingers. A release also lets the string go with far less sideways push than fingers, which suits a bow built for precision.
| Release aid | How it fires | Best for |
|---|---|---|
| Wrist-strap index finger | You squeeze a trigger with your index finger; a strap carries the weight | Your first release, and hunting |
| Handheld thumb button | You press a button with your thumb | Target shooting |
| Hinge (back tension) | No trigger: it fires as you rotate and pull through | Advanced archers, curing target panic |
| Resistance (tension-activated) | Fires when you pull past a set weight | Advanced target archers |
Which release aid to start with: a wrist-strap index release
My stance: start with a wrist-strap index-finger release. I shoot a recurve with my fingers and haven’t used a release aid myself, so this is an opinion from research, and the research is unusually clear.
- It’s simple: it works like a trigger, which feels familiar if you’ve fired a rifle.
- It stays on your wrist, so you won’t drop it or lose it, in a tree stand or at the range.
- Lancaster Archery agrees: it tells beginners not to start with a hinge or resistance release, which need a better feel for your draw and your bow.
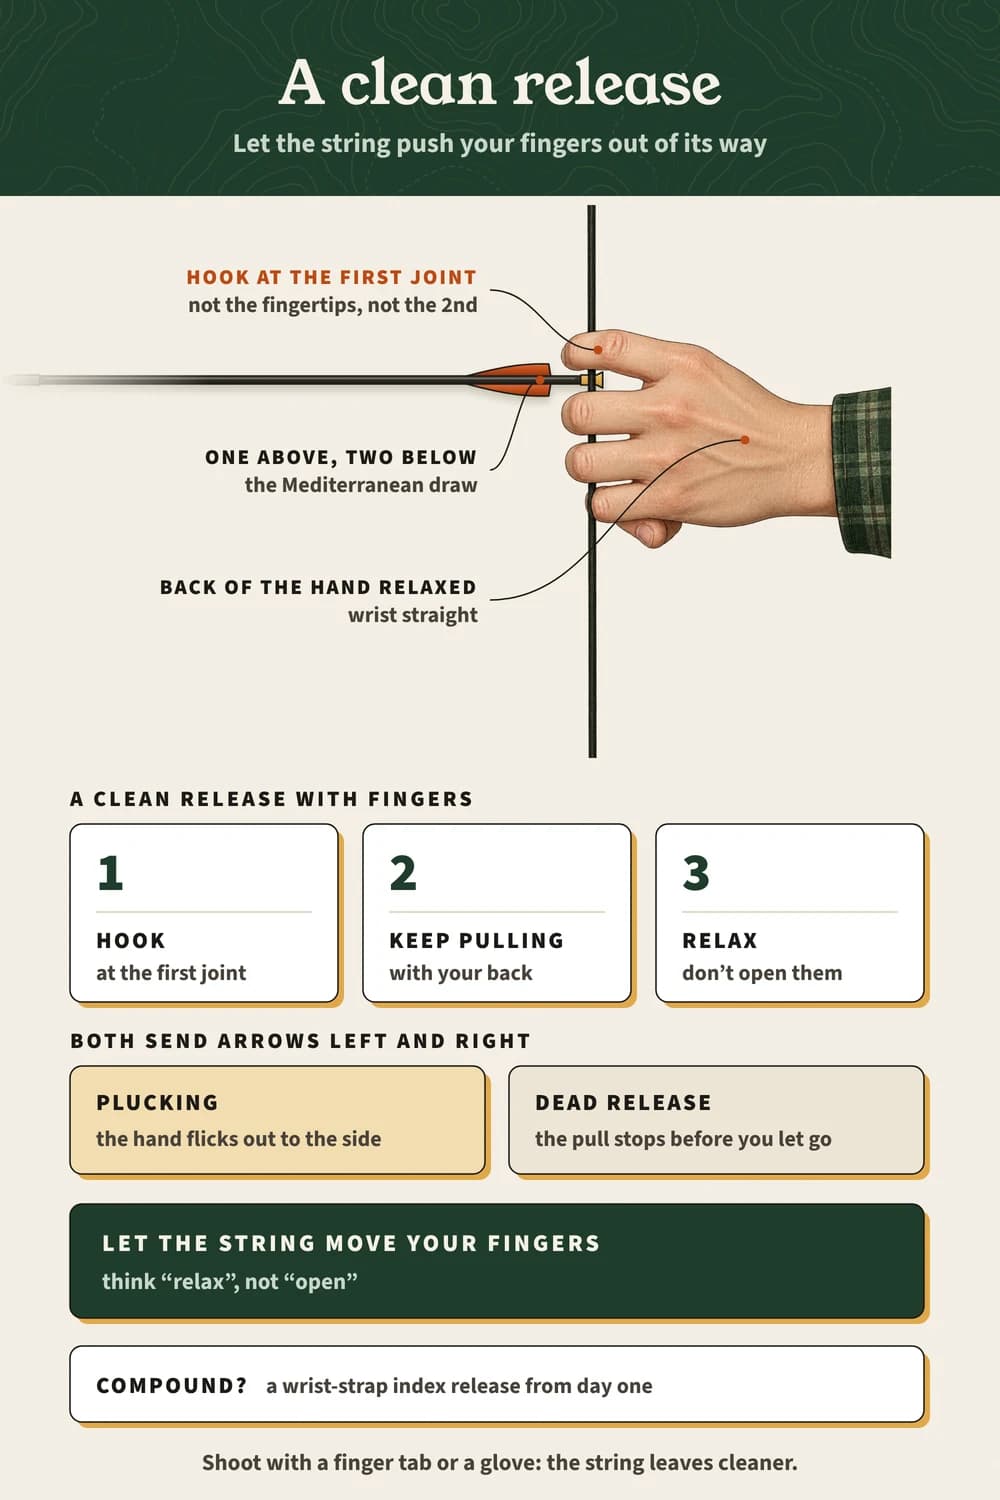
Here’s a clean release boiled down to one page, handy to look at between ends.
// FAQ
Frequently asked questions
Quick answers to the questions readers ask most.
What does release mean in archery?
The moment you let the string go, with your fingers or a release aid. A clean release is relaxed, not plucked.
Why do my arrows go left and right?
Often it’s a plucked or dead release. Relax your fingers instead of opening them, and keep pulling with your back as the string leaves.
What is a release aid?
A small tool that holds the string and lets it go when you squeeze a trigger, press a button or rotate it. Almost every compound archer uses one.
Can you use a release aid on a recurve?
Not in recurve or barebow competition: World Archery allows tabs and gloves but no device that helps you draw and release. On a compound it’s the norm.
Which release aid is best for beginners?
A wrist-strap index-finger release. It’s simple, it stays on your wrist and it’s the type most new compound archers start with.
Final thoughts
The release is one small moment that decides a lot. Relax your fingers, or squeeze the trigger, and keep pulling until the arrow is gone.
Mark your left and right misses in the free range log; when they shrink, your release is getting cleaner.