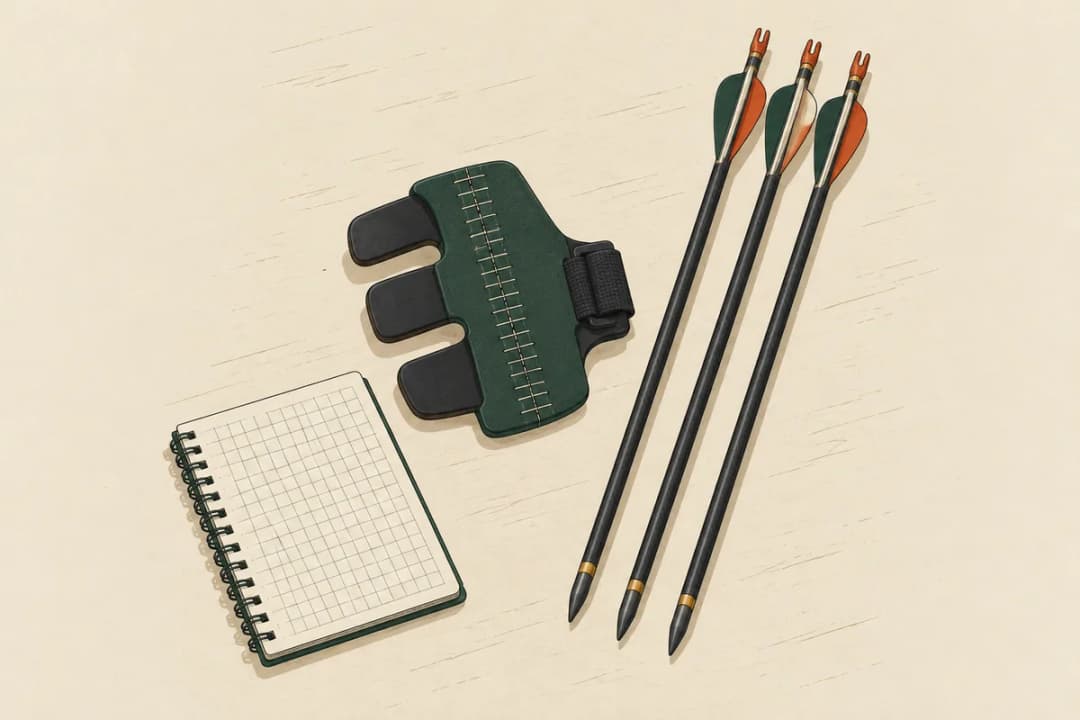


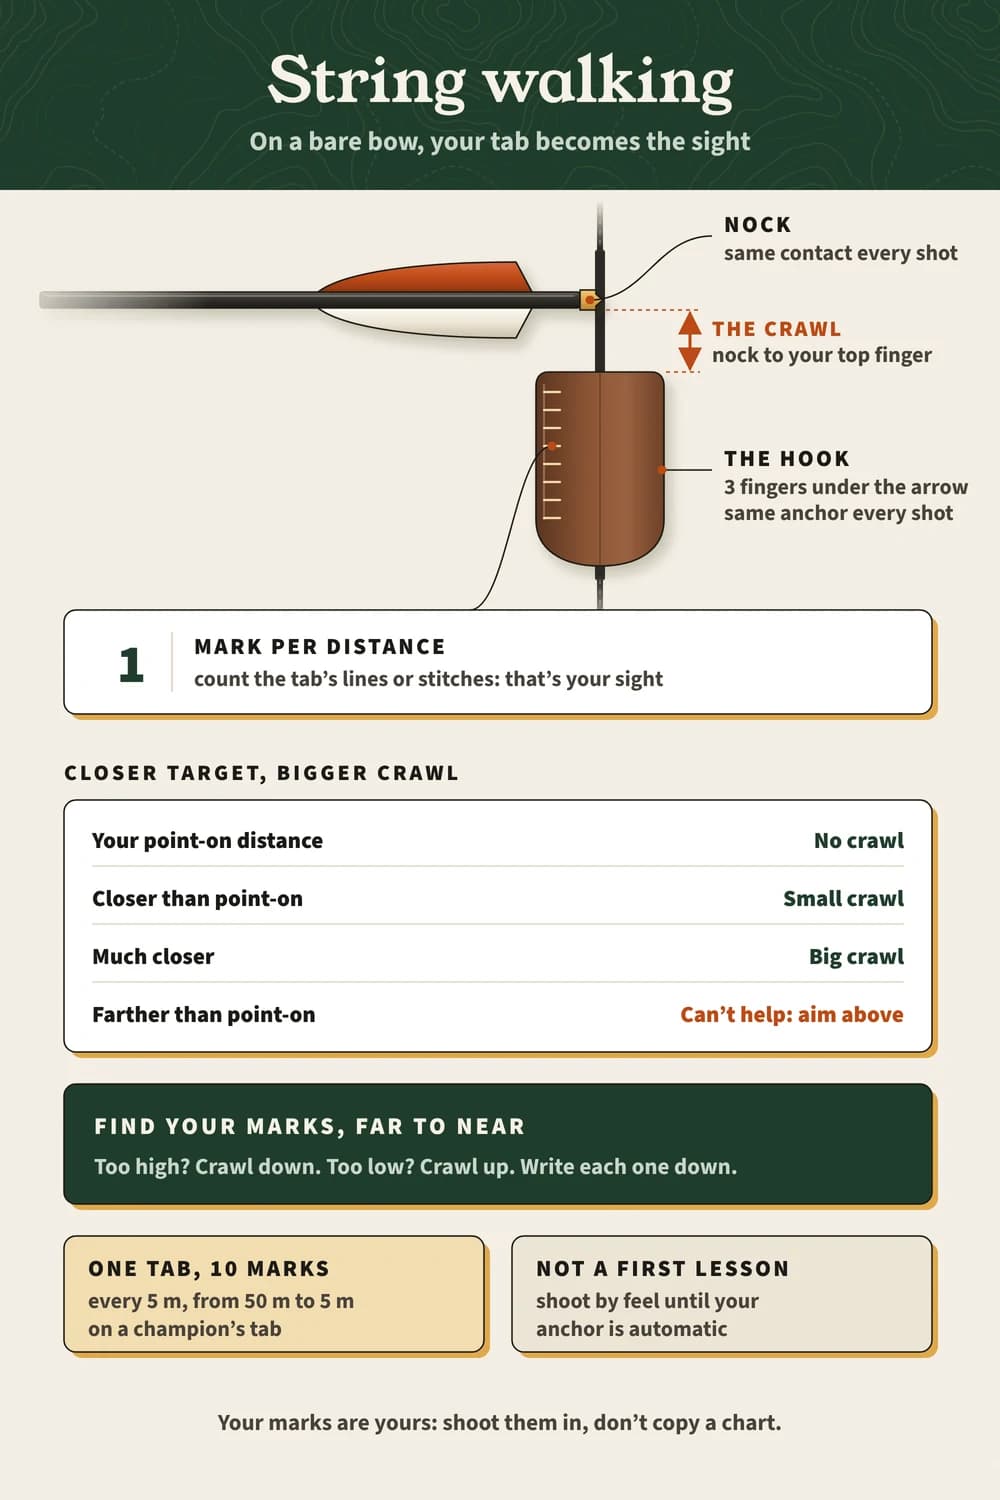
- In string walking your tab becomes the sight: one mark per distance, and the arrow point stays on the spot.
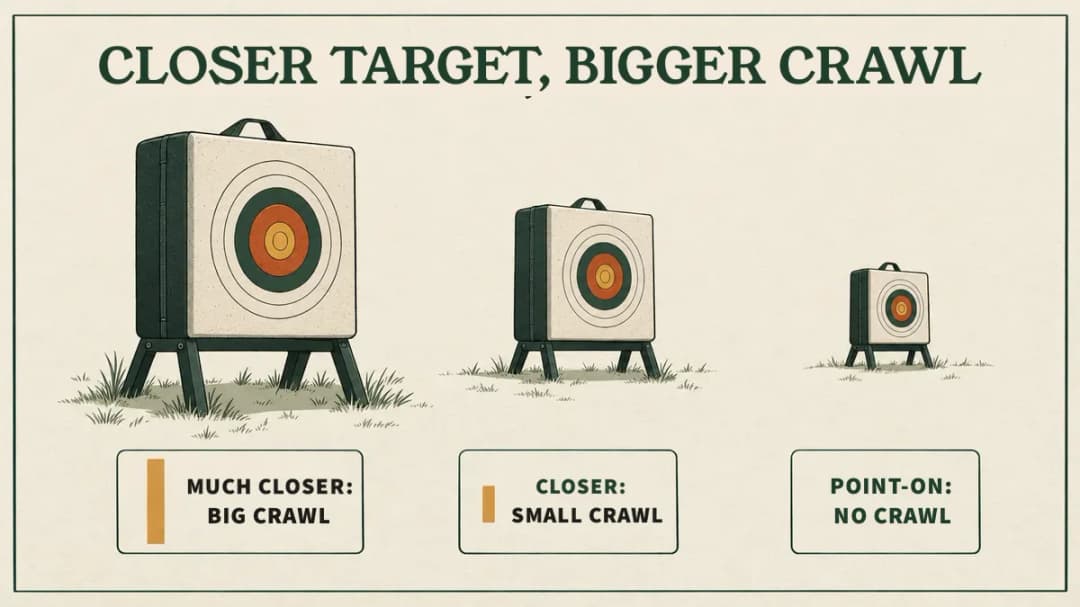
- Closer targets need a bigger crawl; past your point-on distance, string walking can’t help.
- Find your marks from far to near: too high, crawl down; too low, crawl up.
- Same nock contact, same anchor every shot, or the marks mean nothing.
- Don’t start with it. Shoot by feel until your anchor is automatic, then walk the string.
Two lanes over, someone with a bare recurve is hitting the middle at every distance, sliding their fingers down the string a little more each time. How? 😮
That’s string walking, a barebow aiming method, and it works, but learn to shoot by feel first: it only pays off once your anchor point is the same every shot. Then here’s how to find your crawl marks and build a chart.
How string walking works: your tab becomes the sight
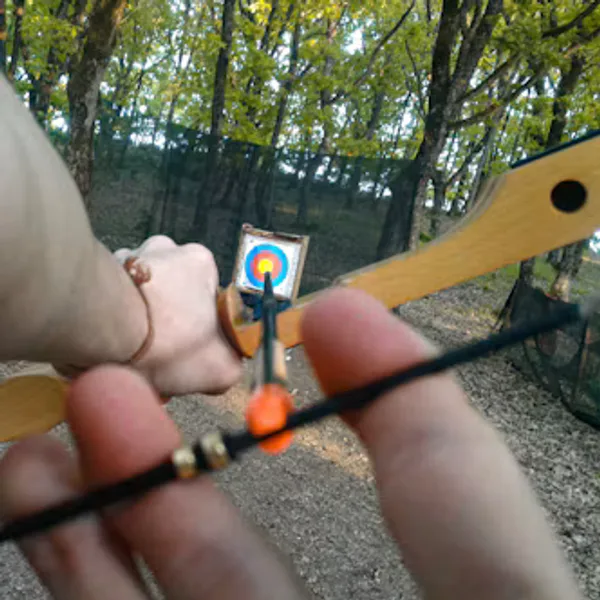
On a bare bow, the arrow point is your sight, but it only sits on the target at one distance. String walking moves that distance: you hook the string a little below the nock, which raises the back of the arrow and lowers the point.
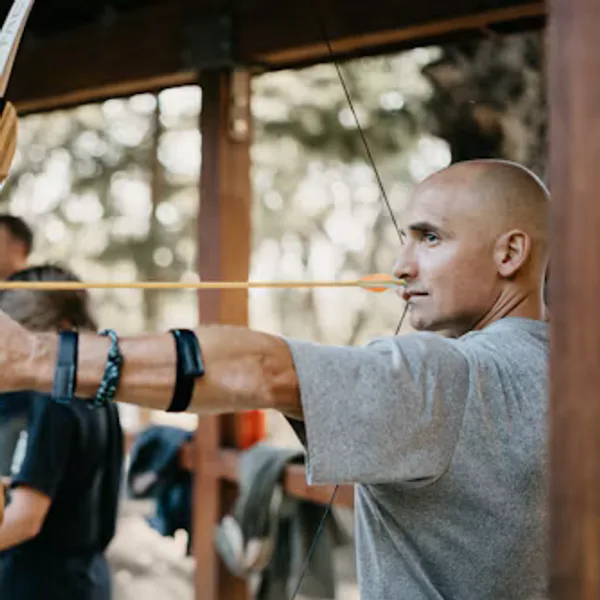
The gap between the nock and your top finger is called the crawl. You hook all three fingers under the arrow and your anchor stays the same every shot. Closer targets need a bigger crawl and farther ones a smaller crawl.
| Distance | Crawl | Where the arrow point goes |
|---|---|---|
| Your point-on distance | None: fingers right under the nock | On the spot |
| Closer than point-on | Small crawl | On the spot |
| Much closer | Big crawl | On the spot |
| Farther than point-on | None (string walking can’t help) | Above the spot, as in gap shooting |
Barebow champion John Demmer III shows what that looks like on his tab in the USA Archery video further down. Notice how far one tab streches:
Here’s the tab I’m using, and I have each mark at 5 meters, so point on for me is 50, and then go 45 all the way down to 5.
Ten marks cover every distance from 5 to 50 meters on a field course. That’s the power of the method, and also why it takes time: every one of those marks had to be shot in.
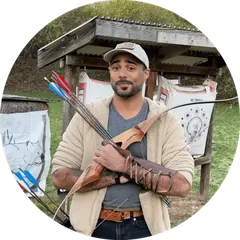 From Jedain
// Free printable
Get the range log I actually use.
Seventeen printable pages: session log, score tracker, a 30-day drill challenge, a bow maintenance card, a first-season checklist and more. Join the monthly email and it lands right away.
What you need before you start string walking
You don’t need much gear. But you need the right kind. A tab with marks and a steady anchor come first; everything else is tuning.
- A marked tab: one with printed lines or evenly spaced stitches, so you can count your crawl.
- A repeatable anchor: barebow archers usually anchor mid-face, on or under the cheekbone, not under the chin.
- A bow tuned for it: many string walkers run negative tiller, because a deep crawl loads the bottom limb more.
- A marked range: you need known distances to build your chart.
How to find your crawl marks in 5 steps
Here’s the method in its simplest form. Start at your longest distance and walk toward the target, one distance at a time.
- Find your point-on distance: with your fingers right under the nock, move back until the arrow point sits on the spot and the arrows land there.
- Step closer and guess a crawl: slide your fingers a little down the string and shoot a few arrows with the point on the spot.
- Read the group: too high, crawl farther down; too low, move back up toward the nock.
- Count the mark: once the arrows group on the spot, note which line or stitch your thumb sits on.
- Write it down and repeat: one crawl per distance, in a chart you keep with the bow.
Step 3 is where most people get turned around. Abby Weir, a 2017 U.S. Archery Team member, keeps it simple in the same video:
When you’re at a distance and you shoot an arrow and you find out you’re too high, you’ll want to go down in your crawl, so down on your tab and down on your string, and then if you’re too low you’ll want to go up.
Every archer’s marks are different, because they depend on your bow, your arrows and your face. Copying someone else’s chart won’t work, which is why you shoot it in yourself.
The marks only hold if your hand meets the string the same way every time. Demmer’s habit for that is worth copying:
When we do string walking we want to do everything as consistent and as repeatable as possible… I always bump up against the nock fairly hard so I always have the same finger placement.
That’s the detail I’d point every new string walker to. Bump the nock, find the mark with your thumb, slide the tab down, and hold it there with a little thumb pressure until you draw.
String walking trade-offs: what it costs you
String walking isn’t free. Moving your hook changes how the bow shoots, so you tune for a spread of crawls, not for one.
- The tune shifts with the crawl: drawing from a different spot on the string changes the bow’s tiller and power stroke from shot to shot.
- It only works inside your point-on distance: past it, you’re back to aiming above the target.
- It isn’t legal everywhere: some field archery bodies ban string walking in their barebow class.
- You need to know the distance: that’s easy on a marked range and hard in the field, which is why many hunters gap shoot or use one fixed crawl.
Why you should shoot by feel before you string walk
Don’t start with string walking. A crawl chart is only as good as the anchor and release behind it, and while those still move, you’d be writing down marks for a shot you don’t have yet.
I don’t string walk: I shoot my recurve by feel, with no sight, so this stance comes from that and from what string walkers say about tuning. Shooting by feel is slower to learn, but it builds the form every other method needs:
There's no real place to aim, so you just kind of have to trust yourself and kind of build that muscle memory.
Build that muscle memory first. When your arrows group at short range without you thinking about the anchor, a marked tab turns that consistency into accuracy at every distance.
Before you head to a marked range, here's the method boiled down to one page you can save to your phone.
// FAQ
Frequently asked questions
Quick answers to the questions readers ask most.
What is the crawl in string walking?
The distance between the nock and your top finger on the string. Closer targets need a bigger crawl.
How do I find my string walking marks?
Start at your point-on distance and step closer, adjusting the crawl until the arrows group on the spot: too high, crawl down; too low, crawl up. Note the tab mark for each distance.
Is string walking good for beginners?
Not as a starting point. Shoot by feel until your anchor is automatic, then learn it.
Is string walking legal in barebow?
In World Archery barebow, yes: it’s the standard method. Some field archery bodies ban it, so check the rules of your event.
What’s the difference between string walking and face walking?
Face walking keeps your fingers in one place on the string and moves your anchor up or down your face instead.
Final thoughts
String walking is a great tool for a bare bow and a bad first lesson. Build the feel, then build the chart.
Log your distances and crawl marks in the free range log, and you’ll know when your shot is steady enough for a marked tab.
String walking only works if the right eye is doing the aiming. Take the 30-second dominant eye test before you build your crawl chart.